Adding realism to your miniature scenes can be a great way to improve their appearance. One easy and affordable way to do this is by using modelling grass. In this article, you will learn how to use modelling grass to add detail and realism to your miniature scenes.
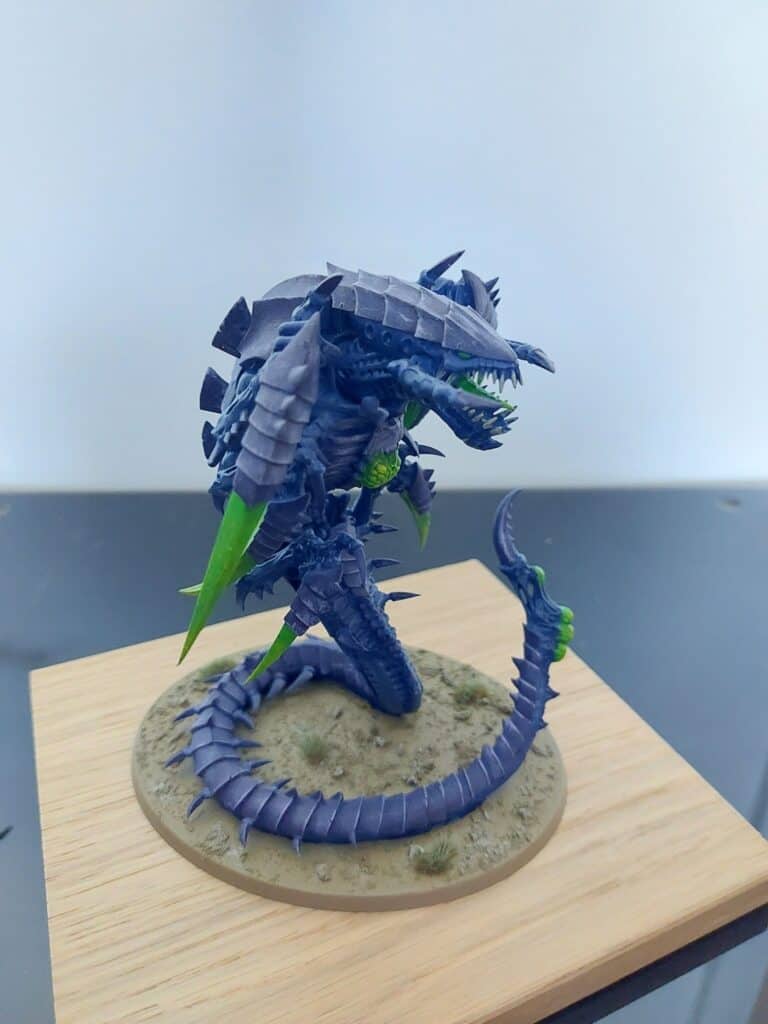
Adding Static Grass to Your Scenes
How do I add realism to my miniature scenes using modelling grass?
Adding realism to your miniature scenes using modelling grass is a simple process that only requires a few steps. There are three methods to add modelling grass to your scenes: the hot glue gun method and the dipping method.
Glue Gun Method
You will need some modelling grass, a hot glue gun, and scissors to start.
- First, cut the modelling grass to the desired length.
- Use the hot glue gun to attach the grass to your scene.
- Finally, enjoy your new and improved miniature scene!
This method works well with long pieces of grass that are standalone objects in scenery areas—placing a large tuft of grass surrounded by stones, for example.
Model grass is a great way to add realism to your miniature scenes. Following the steps in this guide, you can easily add model grass to your scenes to improve their appearance. So, get started today and see the difference it makes!
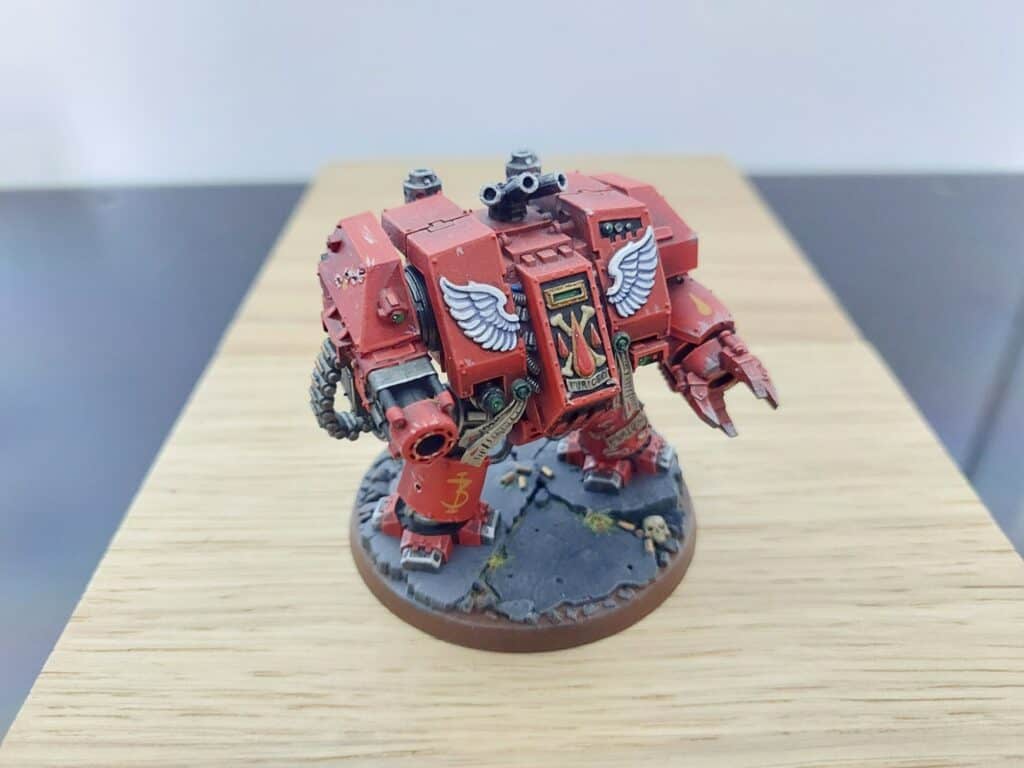
Dipping Method
This method works best with miniature bases, as you can dip them into the grass after covering the base in glue.
To do this, your will, you need to get the following:
- Chosen Turf (gravel, grass, stones).
- Glue
- Model Grass Cuttings
- Apply Glue to the base – You can use a variety of glues, but we recommend using PVA glue as it is easy to work with.
- Once the glue has been applied, carefully dip the base into the modelling grass. Gently shake off any excess grass and leave the base to dry.
- Apply modelling grass cuttings – Add larger grass cuttings around the miniature to add depth to your scenery.
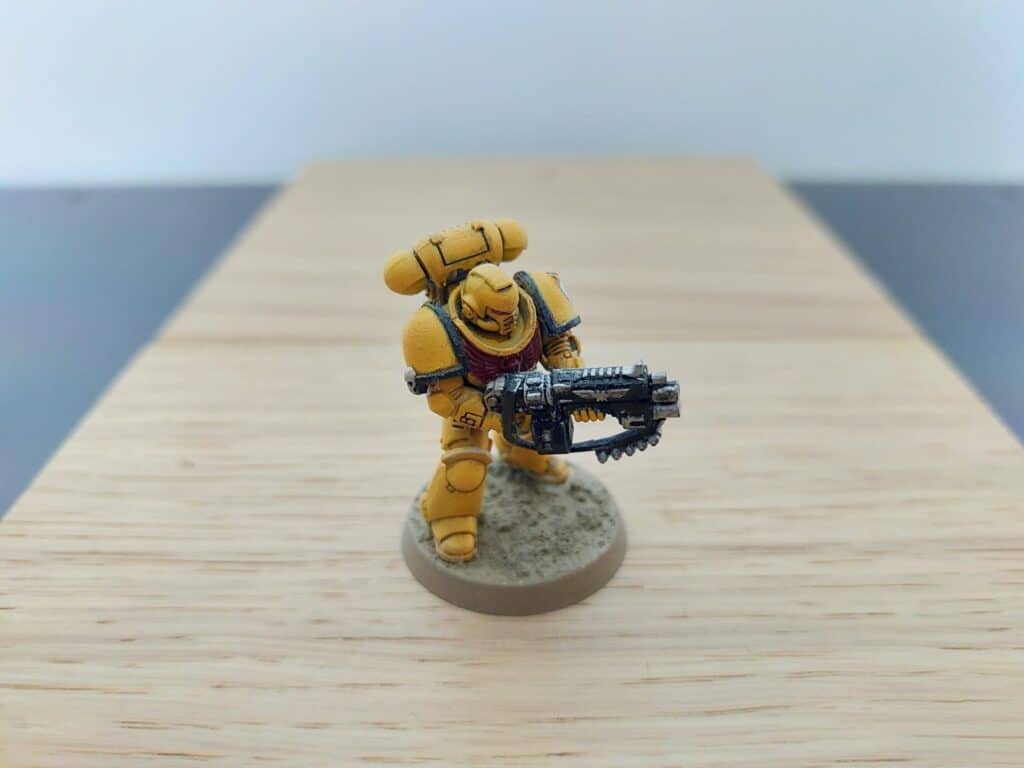
Adding Static Grass and Terrain to Model Bases
To ensure that your miniature bases are not black and stand out from your scenery, it is always a good idea to build terrain onto your bases. This will make your models look like they are standing on something rather than just being glued to the base. It also helps to protect the model from being damaged by spillages or knocks.
There are many different ways that you can add terrain to your bases. One way is to use modelling grass. Modelling grass is a type of synthetic grass that is used in model making. It is available in a variety of colours, lengths, and textures.
To add modelling grass to your base, you will need a hot glue gun and scissors. First, cut the modelling grass to the desired length. Next, use the hot glue gun to attach the grass to your scene. Finally, enjoy your new and improved miniature scene!
You can also use the dipping method outlined above to add modelling grass to your bases.
Model grass is a great way to add realism to your miniature scenes. Following the steps in this guide, you can easily add model grass to your scenes to improve their appearance. So, get started today and see the difference it makes!
Adding Grass to Buildings and Vehicles
In addition to adding grass to your bases and scenery, you can add it to buildings and vehicles. This is a great way to add realism and detail to your models.
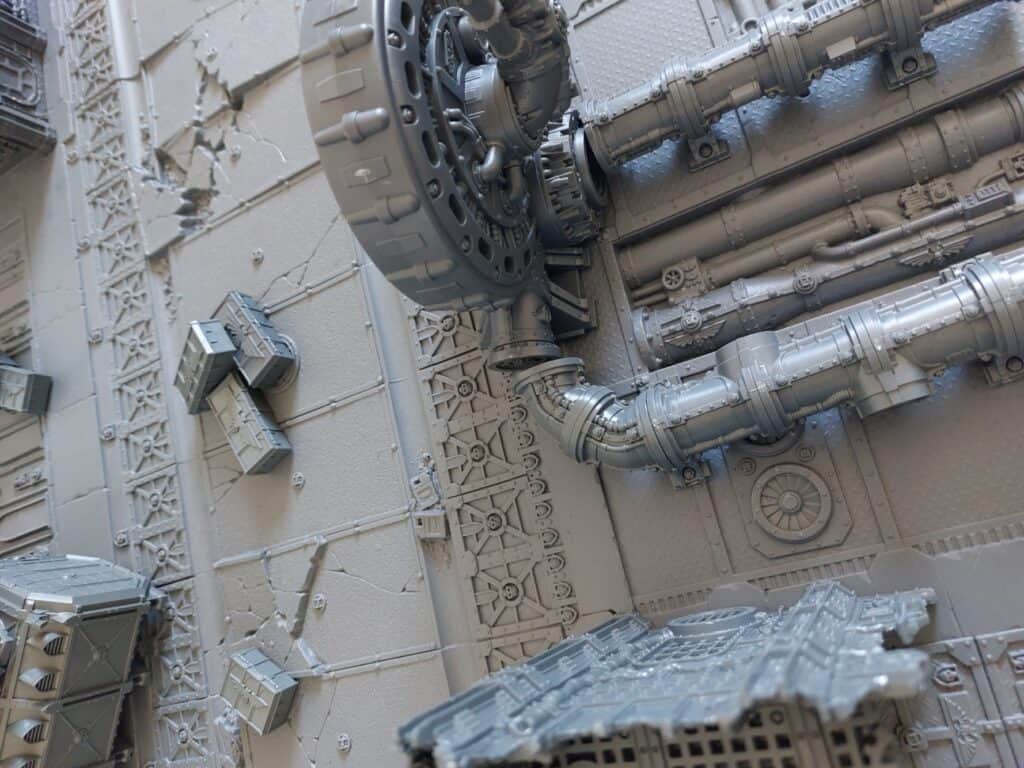
To add grass to buildings and vehicles, you will need a hot glue gun and scissors. First, cut the modelling grass to the desired length. Next, use glue to attach the grass to your scene. Add scatter around the area to add depth and ensure that grass is placed surrounding the foot of the building. This will allow the building to fit seamlessly into the surrounding scene.
Adding grass with grass mats
You can use grass mats if you want to add grass to your scene but don’t want to go through the hassle of cutting and gluing individual pieces of grass. Grass mats are pre-made mats of grass that can be cut to size and glued down. This makes them much easier and quicker to use than modelling grass.
We advise using this method if you cover a large area with grass, such as a field or forest.
You will need scissors and PVA glue to attach grass mats to your scene. First, cut the grass mat to the desired size. Next, use PVA glue to attach the mat to your scene. Finally, enjoy your new and improved miniature scene!
Use Scatter to Increase Realism of Your Modelling Grass
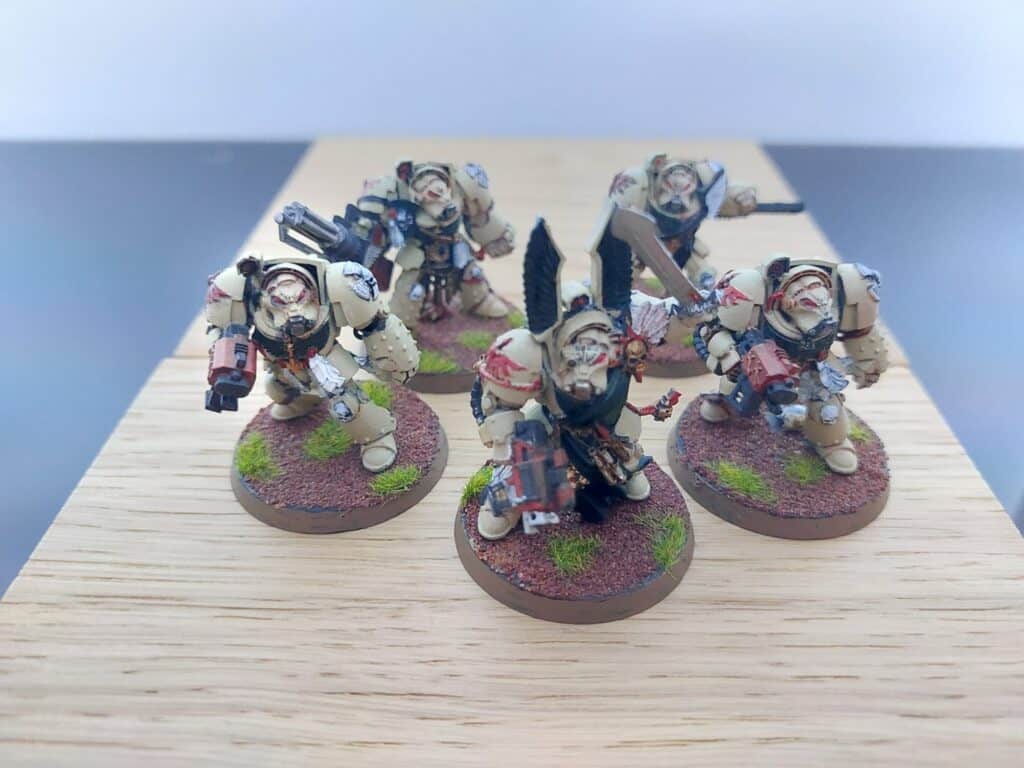
Scatter is a great way to add realism to your miniature scenes. Scatter is designed to look like stones, dirt, and gravel. These products can be used to bring your scenes to life. They are applied similarly to static grass, where you apply glue to the chosen area and scatter it across the terrain or add it to the base of your choice.
Which method to start with?
Now that you know all the different ways to add grass to your miniature scenes, it’s time to decide which method is right for you. We recommend using grass mats if you want to quickly and easily add grass to your scene. If you’re going to add more realism and detail to your scene, we recommend modelling grass and scatter. If you are looking for full coverage, we suggest you use static grass.
Ten creative ways to use modelling grass for miniatures
- To add realism to your miniature scenes, cut the grass to desired lengths and attach it to the scene using your chosen glue.
- Cover the ground with modelling grass of varying lengths to create a miniature lawn or garden.
- For a quick and easy way to add trees to your scenes, glue modelling grass to tree trunks or branches.
- Use modelling grass to create hedges, bushes, and other vegetation for your scene.
- To add a touch of realism to a path or road, line it with modelling grass of different heights.
- To make a miniature forest, glue clumps of modelling grass to tree trunks or branches.
- For a fun way to add detail to your scene, glue modelling grass to figurines or other objects.
- Cover the surface with modelling grass to create a thatched roof.
- Use modelling grass to create a miniature meadow or field.
- To add a touch of whimsy to your scene, glue modelling grass to objects in random or whimsical patterns.
The best materials for miniature scenery
A wide range of materials can be used to create miniature scenery. The best material will depend on the look you are going for and the level of detail you want to achieve.
Some common materials that can be used to create miniature scenery include:
- Modelling grass.
- Static Grass.
- Scatter.
- Model Bushes.
- Model Trees.
- Hills.
- Mountains.
- Buildings.
Try using modelling grass to quickly and easily add realism to your scene. This material is easy to work with and can be found at most craft stores. If you want a more complex or detailed look, consider using one of the other materials on this list.
What different types of scenery are there?
Various types of scenery can be used for miniatures, such as forests, deserts, mountains, and urban areas. Each type of scenery has its unique features and challenges. For example, a forest might have trees and bushes, which need to be modelled, while a Desert would have dunes and cacti.
You could create a scene from a completely different planet with an entirely new set of rules to follow. Or you could model a historical battle scene with all the accurate details that go along with it. The possibilities are endless!
Final Thoughts
Creating miniature scenes can be a fun and rewarding hobby. Following the tips in this guide, you can easily create realistic and impressive scenes that impress your friends and family. So, get started today and see what you can make!
