Making your own paint is a great way to save money and also a lot of fun. In this article, we will provide you with a step-by-step guide on how to make your own paint for miniatures. We will also provide you with a list of ingredients that you will need.
What is miniature painting?
Miniature painting is the art of painting small models or figures. The models can be made from various materials, including plastic, metal, and wood. Miniature painters use multiple techniques to paint their models, including dry-brushing, washes and airbrushing.
What are the different types of paints for miniatures?
The two most common types of paints for miniatures are acrylics and oils. Acrylics are water-based, while oils are solvent-based. Acrylics are generally easier to work with, but they can be more challenging to achieve a smooth finish. Oils, however, require less setup time and provide a smoother finish.
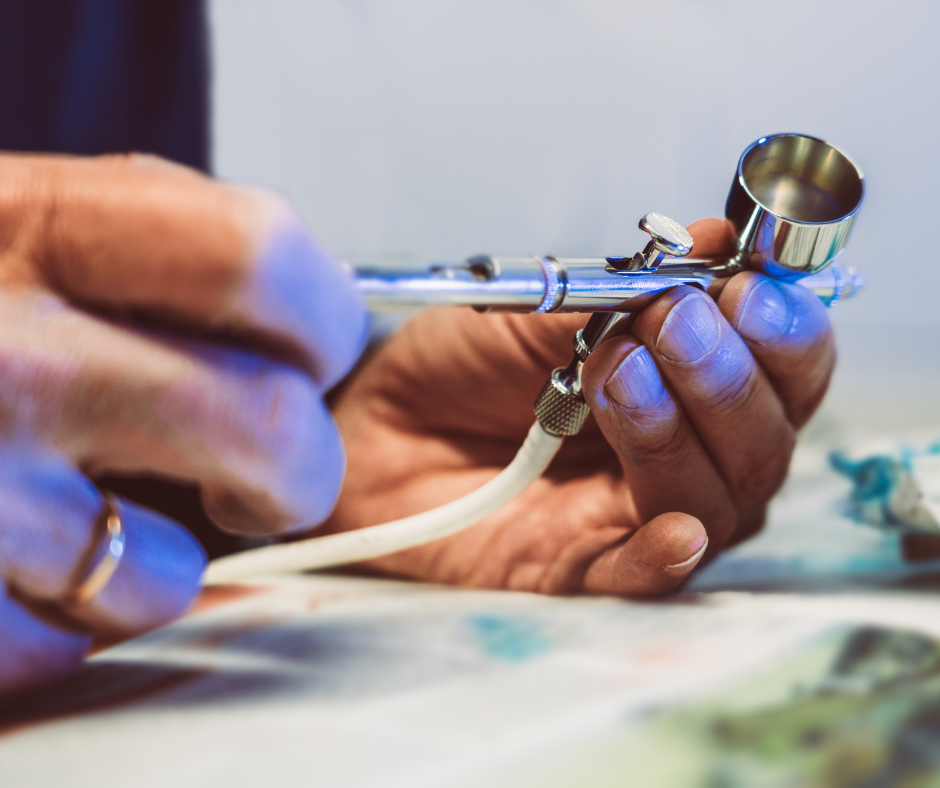
What is the difference between airbrushing and hand painting?
Airbrushing is a method of painting in which the paint is sprayed onto the model using an airbrush. This method is generally faster and easier than hand painting, but achieving a smooth finish can be more challenging. Hand painting is the traditional method of painting in which the paint is applied to the model using a brush. This method is generally slower and more complex but can provide a more detailed and smoother finish.
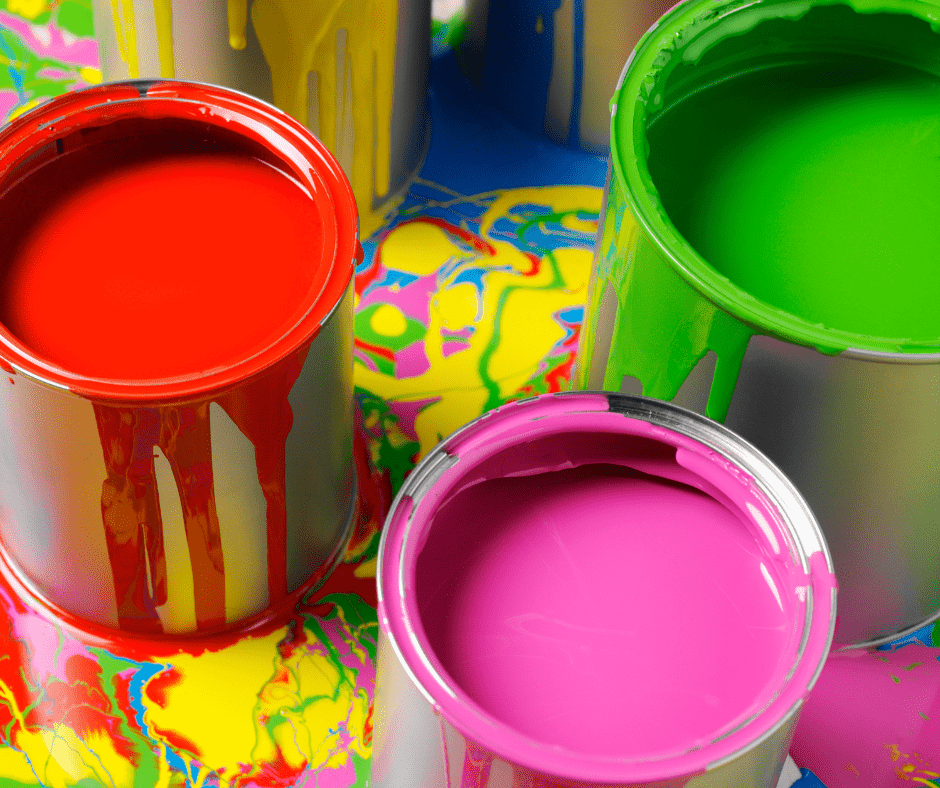
What are the benefits of making your own paint?
Making your own paint has several benefits. First, it’s a great way to save money. Second, you have complete control over the ingredients and the process of tailoring the paint to your specific needs. Third, it’s a lot of fun!
How to make your own acrylic paint for miniatures?
Supplies
- A mixing container.
- Stirring Utensil.
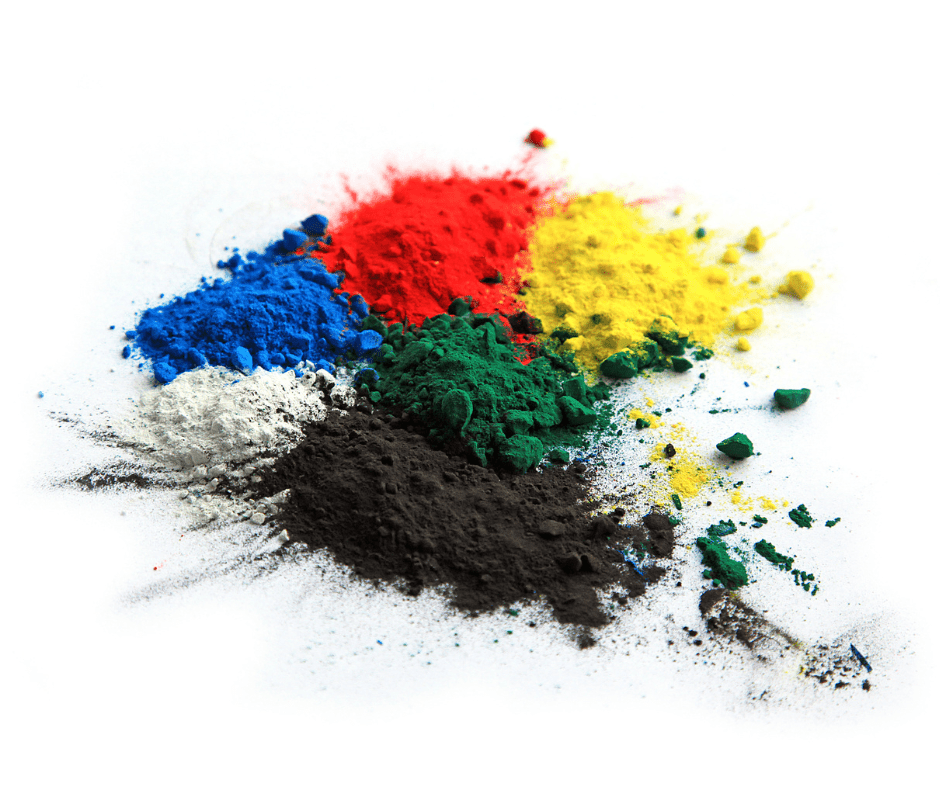
- Dry Pigment.
- Spatula.
- Acrylic Base.
- Solution (Water or Alcohol).
- Acrylic Binder.
- Acrylic Retardant.
Instructions Acrylic Paint
Making your own paint is a great way to get precisely the colour you want. It is also a great way to save money.
- Choose your pigment – The first step is to choose the pigment you want to use. This can be done by mixing different colours of powder together or by using a pre-made pigment.
- Grind the dry pigment – With the spatula, press down throughout the pigment powder to remove any grittiness.
- Record your ingredients – Make sure to document your process and the amounts of pigment you combine. This will ensure that you can repeat the exact paint mix in the future.
- Add the acrylic base – The next step is to add the acrylic base to your mixing container.
- Stir the solution – Stir the mixture with your utensil until the paint has a smooth consistency.
- Add the solution – add the water or alcohol solution. Remember, water will dry slower, and alcohol will dry quicker. Follow the instructions on your acrylic binder.
- Add the acrylic binder – Now add the acrylic binder as per the instruction on the binder. This will be different depending on the binder you are using.
- Blend in your acrylic retardant – Follow the instruction on the back of the retardant. This will vary between products but acts to slow down the drying time of your paint.
- Mix it all – The final step is mixing all the ingredients.
Now that you know how to make your own paint, the sky is the limit! Experiment with different pigments, binders, and solvents to create the perfect colour for your project.
How to make your own oil paint for miniatures?
Supplies
- Dry Pigment.
- A Spatula.
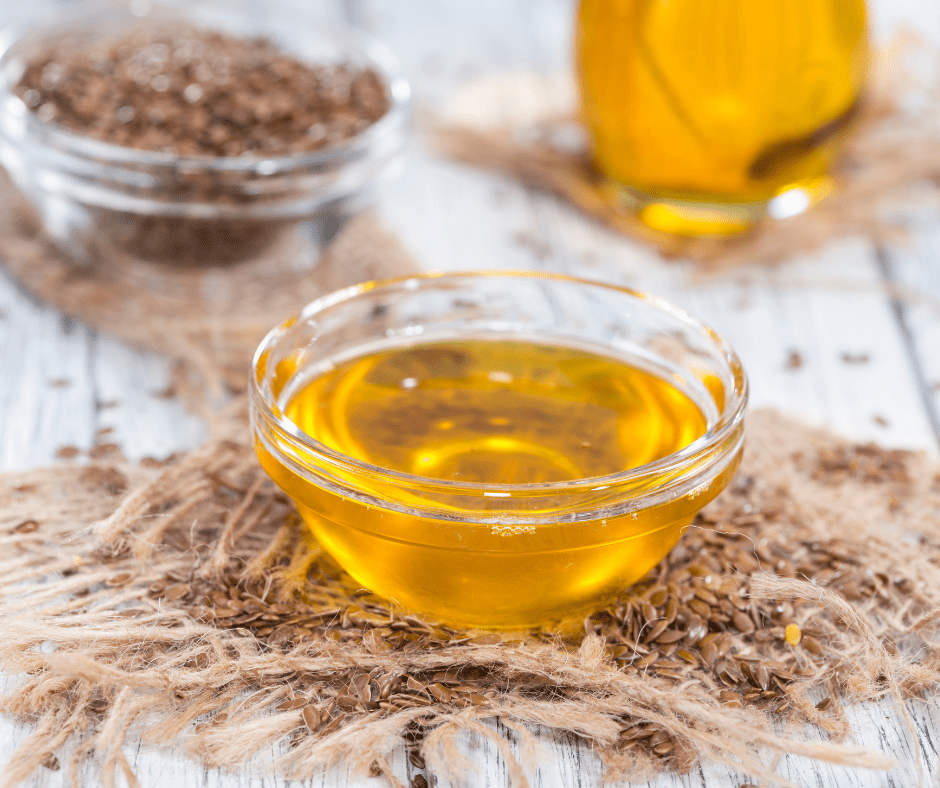
- Linseed Oil.
- Flat Surface.
- Paint Muller.
Instructions Oil Paint
- Choose your pigment – The first step is to choose the pigment you want to use. This can be done by mixing different colours of powder together or by using a pre-made pigment.
- Grind the dry pigment – With the spatula, press down throughout the pigment powder to remove any grittiness on a flat table.
- Record your ingredients – Make sure to document your process and the amounts of pigment you combine. This will ensure that you can repeat the exact paint mix in the future.
- Create a well in the pigment – Create a well (crater) in the middle of the pigment
- Add linseed oil – Mix in a small amount to help the pigment bind together.
- Grind the pigment and oil mixture – Use the spatula to press down and grind the mix against the flat surface to create a smooth paint.
- Repeat with several drops of oil – Repeat the process added several drops of oil at a time. Continue to grind until the mixture has the consistency of stiff paste.
- Smooth the paint with a muller – Hold the muller handle and place it on top of the paint mixture. Spread the mixture across the surface and continue to grind the mixture in circular motions.
- Collect in the centre and repeat – With your spatula, collect the paint mixture in the centre and repeat the grinding with the muller.
- Repeat until you have the desired consistency – If your mixture becomes too runny, repeat the above steps and add more pigment.
How to make make your own paint primer for miniatures?
Supplies
- Plaster of Paris
- PVA Glue
- Acrylic Paint of your chosen colour (made as above or prebought).
- Stirring Utensil
- Mixing Container
- Water
- Airtight Storage Container
Instructions
- Add Plaster of Paris – Add two parts of plaster of paris to a mixing container.
- Add PVA Glue – Add one part of PVA glue to the plaster of paris.
- Add Acrylic Paint – Add one part of acrylic paint to the mixture.
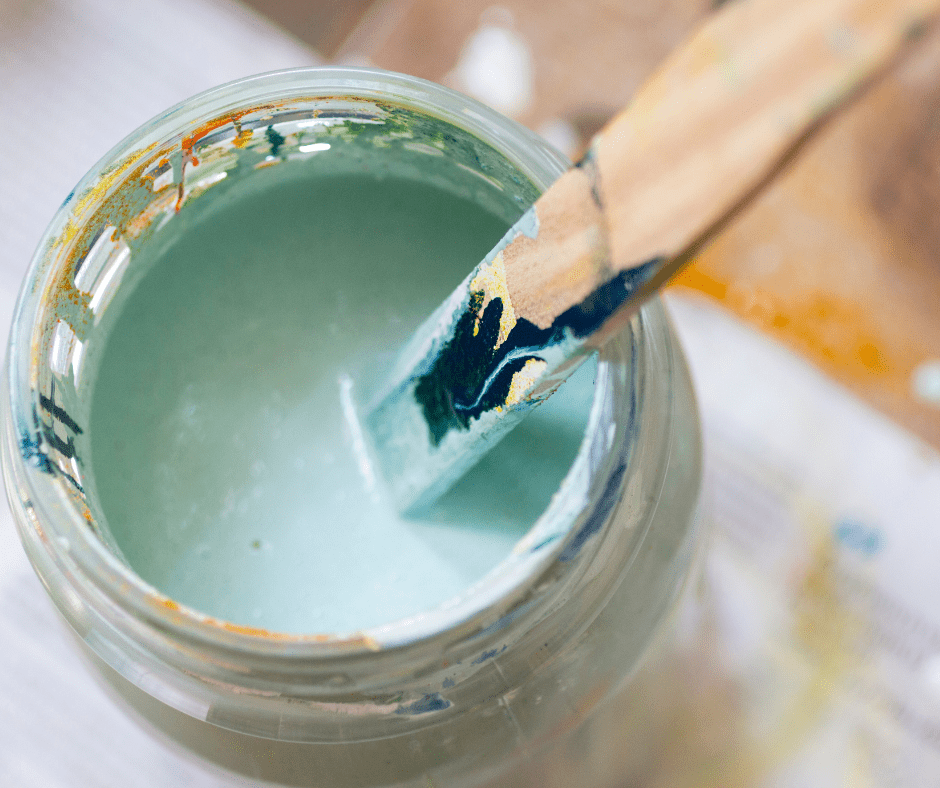
- Stir the mixture – Stir the mixture until it has a smooth consistency.
- Add water – add water to the mixture until you have the desired thickness.
- Store your primer – Store your primer in an airtight container. The mixture will last for three to four months.
- Apply the primer – Apply the primer to your miniatures with a paintbrush or rattle can.
How to mix your own paint colors
Now that you know how to make your own paint, you can mix your own colours. To do this, simply combine two or more pigment powders to create the desired colour. For example, you could mix yellow and blue pigment powders to create a green colour.
Adding white or black pigment powder can also create shades of colours. For example, you could mix yellow and blue pigment powders with white pigment powder to create a light green colour. You could mix yellow and blue pigment powders with black pigment powder to create a dark green colour.
Get creative and have fun mixing different colours!
Tips for beginners who are just starting with miniature painting
If you are starting out with miniature painting, we recommend that you begin with acrylics. They are easier to work with and require less setup time. We also recommend that you use an airbrush. It is a faster and easier method of painting, and it can provide a smoother finish.
- When painting your model, start with the lightest colour and work your way to the darkest. This will help you avoid making mistakes.
- And finally, don’t be afraid to experiment! There are no right or wrong ways to paint a model. Just have fun and see what works for you.
- Start by practicing on some scrap models or figures before you tackle your main project. This will help you get a feel for the process and learn what works best for you.
Now that you know how to make your own paint and mix your own colours, it’s time to get started on your next painting project!
FAQ for making paint for miniatures
What is the best type of pigment to use for making paint?
The best type of pigment to use for making paint is powdered pigments. These can be found at most art supply stores.
What is the best type of oil to use for making paint?
The best type of oil to use for making paint is linseed oil. You can find this at most hardware stores.
What is the best way to store your paint?
The best type of container to use for storing paint is an airtight container. This will help keep the paint fresh and prevent it from drying.
What is the shelf life of homemade paint?
Homemade paint will last 3 to 4 months if stored in an airtight container. After that, the paint will begin to dry out, and the colour may fade.
Final Thoughts
Now that you know how to make your own paint, mix your own colours, and apply a primer, you’re ready to start your next painting project! Just remember to have fun and experiment with different techniques. There is no right or wrong way to paint a model. If you make a mistake, start over or try something new. Happy painting!