Pinning your metal miniatures can be difficult, but with the right tools and techniques, it can be done relatively quickly.
First, drill a hole into the miniature where you want the pin to go. Use the metal drill bit to make the hole larger so the wire can fit comfortably. Cut a piece of wire about 2-3 inches long, and twist one into the hole in the miniature. Drill a hole in the attachment piece and connect both pieces with the pin. Use the pliers to tighten it down securely. Finally, use the cutters to trim the excess wire.
This article will show you how to pin your metal miniatures using the right tools and techniques. We will also provide some tips on how to make the process easier. By the end of this article, you should be able to pin your metal miniatures with ease.
Benefits of pinning miniatures
There are a lot of benefits of pinning miniatures once you know how to do it. These benefits and the reason behind pinning your models are excellent knowledge before you learn the technique.
Increase strength: By pinning your miniatures, you are essentially increasing the strength of the miniature. This is because you are no longer relying on just glue to hold everything together.
Allows for better painting: When you paint, there might be a case where you accidentally get paint on one of the areas you don’t want it. By pinning your miniatures, you can easily remove the paint from that area without damaging the surrounding areas.
Easier to fix mistakes: We’re all human, and we all make mistakes. If you make a mistake while working on your miniature, it is much easier to fix if it is pinned.
Pinning your metal miniatures can be complex, but it can be done relatively quickly with the right tools and techniques.
What do you pin miniatures with?
We have listed several wire options and pins that you can use during the pinning process:
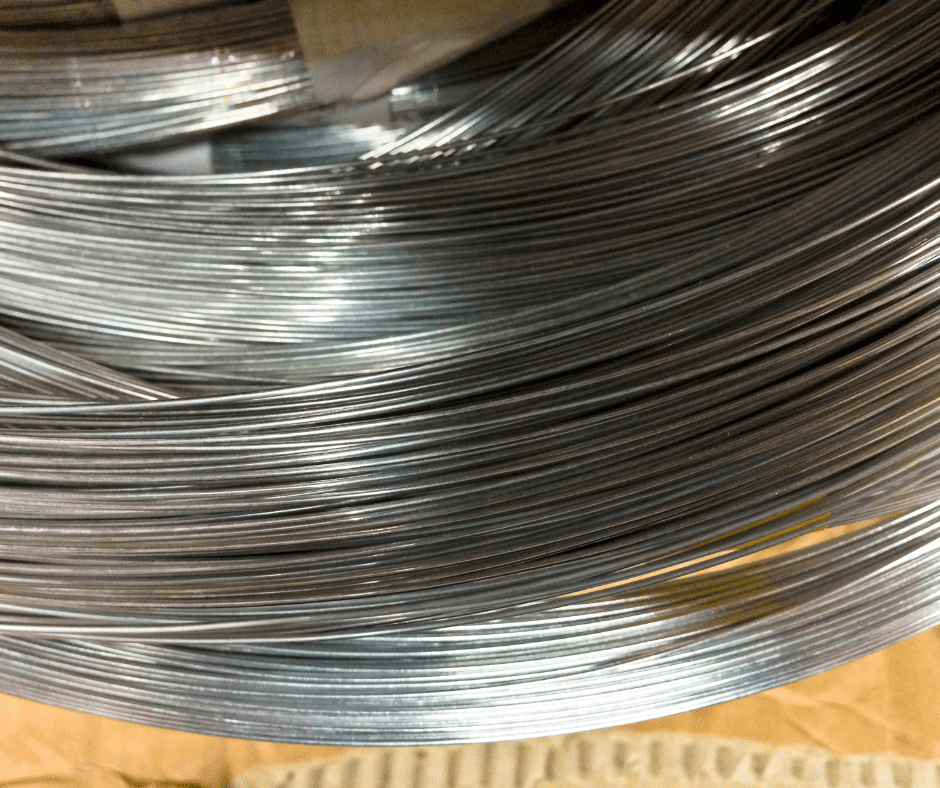
- Wire: You can use any wire for this process. We recommend using a thin wire so that it is less likely to damage your miniature.
- Pins: You can find these at most hardware stores. They come in various sizes, so get the right size for your project.
- Headpins: These are similar to pins but have a larger head. This makes them easier to grip and less likely to fall out.
- Paperclips: You can use paperclips if you don’t have any other type of wire. However, we recommend using a different type of wire if possible because paper clips can be more challenging to work with.
What do you need to pin a miniature to a base?
You will need the following tools to pin your mini to the stand. By doing this, you can increase the strength of your miniature, allowing for better painting and easier fixes if you make a mistake.
- A pin vice.
- Metal drill bits.
- Wire cutters.
- Pliers.
How to pin your metal miniature to a base
Pinning a metal miniature to a base can be difficult, but it can be done relatively quickly with the right tools and techniques.
- Using the vice: Use the pin vice to drill a hole into the larger and more sturdy part of the miniature (such as the foot of your miniature to the base).
- Drilling into the main component: Use the metal drill bit to make the hole larger so the wire can fit comfortably.
- Drill into the accessory component: Use the metal drill again, this time working a new hole into the center of the accessory component (base to the foot or the heel of the model).
- Cutting: Cut a piece of wire about 2-3 inches long. The length and thickness of your wire will depend on the model’s size and the amount of load the pin needs to withstand.
- Insert the pin: Twist one end into the main component hole. Then push the accessory component onto the exposed head of the pin.
- Trim the wire: Use the cutters to trim the excess wire if the main and accessory components are not flush with each other.
- Pliers: Use the pliers to tighten it down securely. Do not over-squeeze the metal miniature, as this can damage the model.
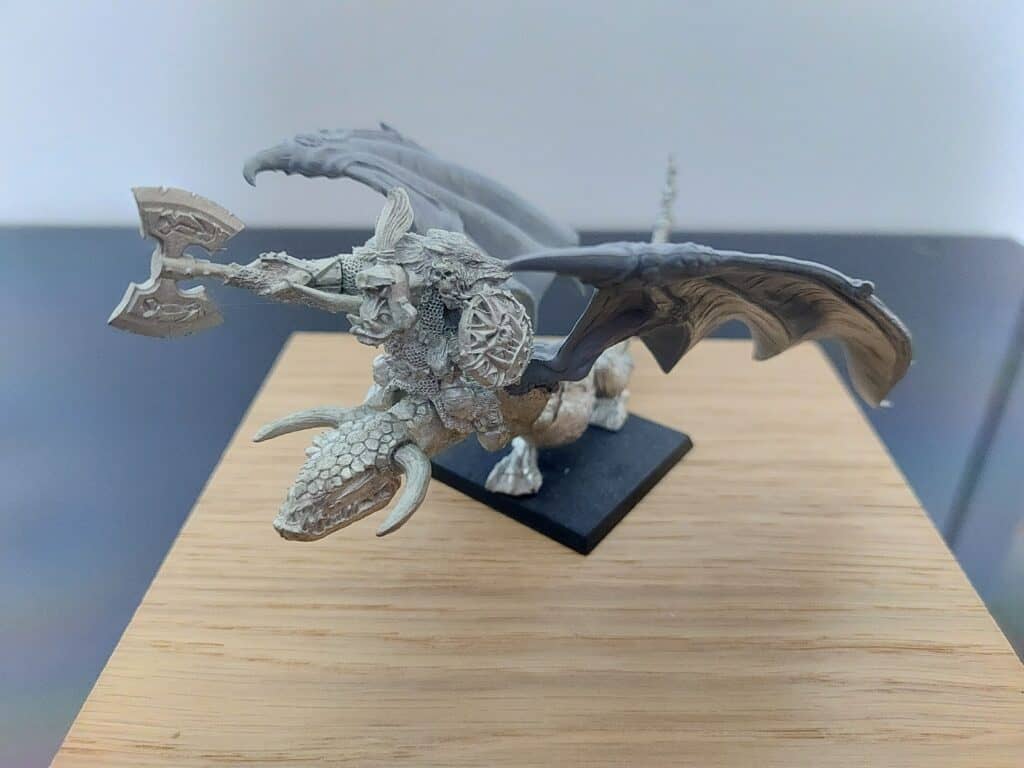
Pinning your metal miniatures can be difficult, but with the right tools and techniques, it can be done relatively quickly. By following the steps above, you will be able to pin your metal miniatures with ease.
Hold Up: If you have just finished pinning your mini why not check out our guide to painting your metal miniatures.
What do you need to pin parts of a miniature together?
You will need the following supplies to pin different parts of your metal miniature together. By doing this, you can make a stronger connection between the pieces, making it less likely that they will come apart.
- A pin vice.
- Metal drill bits.
- Wire cutters.
- Pliers.
How to pin different parts of a miniature together
- Using the vice: Use the pin vice to drill a hole into the larger and more sturdy part of the miniature (such as the torso to connect an arm).
- Drilling into the main component: Use the metal drill bit to make the hole larger so the wire can fit comfortably.
- Drill into the accessory component: Use the metal drill again, this time working a new hole into the center of the accessory component (arm-to-torso connection).
- Cutting: Cut a piece of wire about 2-3 inches long. The length and thickness of your wire will depend on the model’s size and the amount of load the pin needs to withstand.
- Insert the pin: Twist one end into the main component hole. Then push the accessory component onto the exposed head of the pin.
- Trim the wire: Use the cutters to trim the excess wire if the main and accessory components are not flush with each other.
- Pliers: Use the pliers to tighten it down securely. Do not over-squeeze the metal miniature, as this can damage the model.
Final Thoughts
Pinning your metal miniatures can be difficult, but with the right tools and techniques, it can be done relatively quickly. In this article, we have provided you with the benefits of pinning your models and a step-by-step guide on how to do it.
By following these steps, you can increase the strength of your miniatures, allow for better painting and make it easier to fix mistakes.
Do you have any tips or tricks on how to pin metal miniatures? Share them with us in the comments below!
