Contrast paint can significantly affect miniature figures, adding definition and detail to make your models stand out. Contrast paint is a particular type designed to be used in light and dark colours that simultaneously applies a base coat and shading. This article will examine how to use contrast paint to make your models pop.
What is contrast paint, and how does it work?
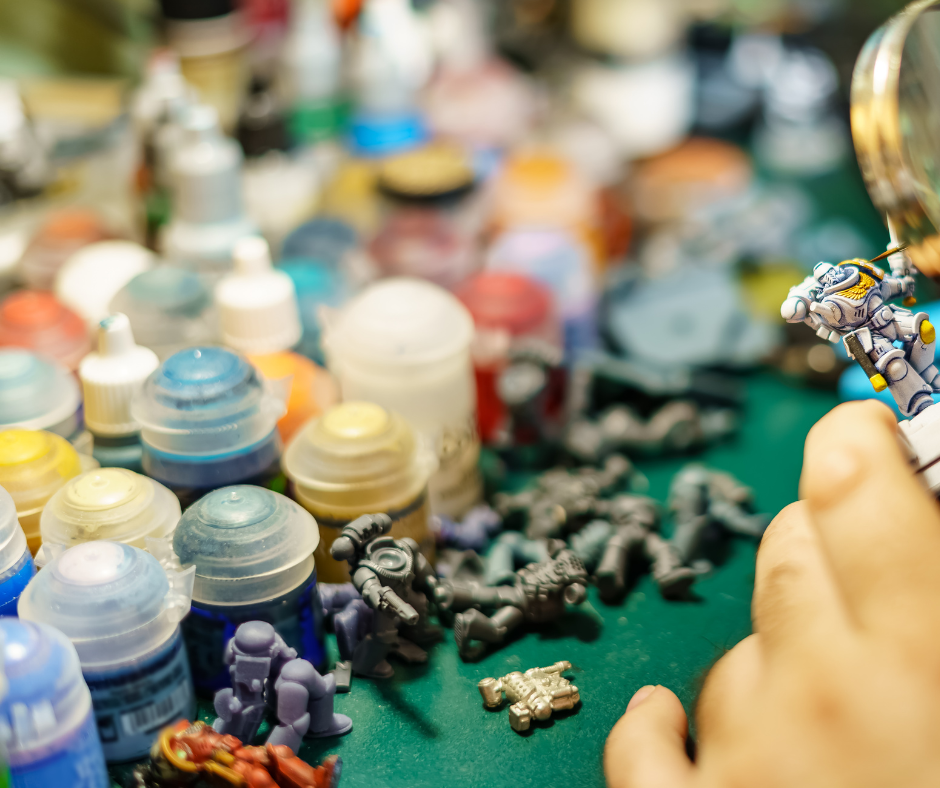
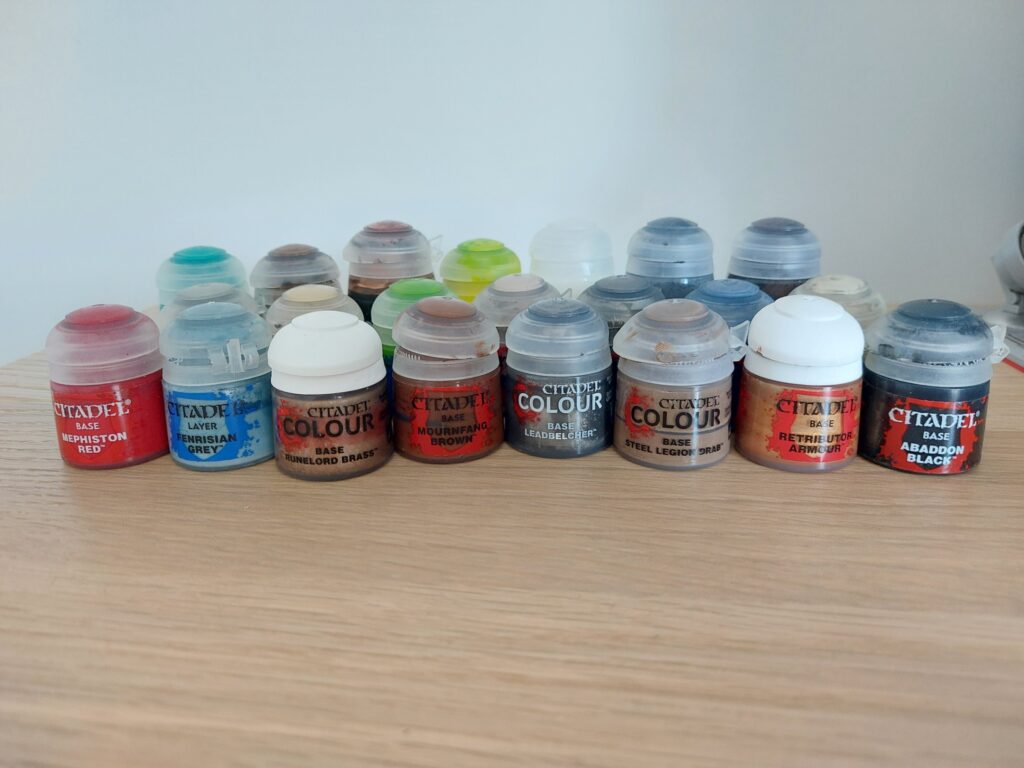
Citadel designed contrast paint to provide a base coat and to shade simultaneously – thus reducing the number of steps in the painting process. Contrast paints are designed to be applied over a light undercoat, providing excellent coverage of your chosen paint colour. Contrast paints are highly pigmented paints that act similarly to a wash – with some key differences.
What is the difference between a wash and contrast paint?
There are several fundamental differences between a wash and contrast paint. These include:
Contrast paints behave differently from washes
Washes collect in the recesses and detailed areas of your miniatures, providing shading and depth to your models. Contrast paint will also pool within these recesses however has been designed to also offer coverage on flat surfaces, unlike a wash. When using contrast paint, you should expect the contrasting paint to be present on all surfaces of your model when applied.
Contrast paints are thicker.
While washes are designed to be thinned down so they can easily flow into the crevices of your model, contrast paints are already reasonably thick. This can make them challenging to control when applying them to your miniature. Usually, this means that you need to get the application of contrast paint right the first time – this will come with practice and ensure that you are careful when applying the paint.
Contrast paints dry faster.
Washes take longer to dry because they are designed to be thinned down. Contrast paints, however, are already relatively thick and will dry quickly. This means you must work fast when applying them to your miniature. Unlike with washes, where you can rectify unwanted pooling, you will need to act more quickly to ensure that the desired coverage is achieved with the contrast paint. Washes can take up to 45 minutes to dry, whereas contrast paints can only take up to 25 minutes to dry.
Contrast paints provide a thick skin.
Unlike washes where you can manipulate the paint by painting over the exact location multiple times – you cannot and should not do this with contrast paint. When your contrast paint starts to dry, it will form a thick skin of paint that should not be disturbed after initial application. If concerned, you will see a washed-out colouration in patches where double brushing has occurred.
How to use contrast paint on your miniatures
All-over base coat
You can use contrast paint to bring your miniatures to life in a few different ways. The first is by using it as an all-over basecoat. This will help to bring out the details in your miniature and can also be used to create a unique look.
How to apply contrast paint as an all-over base coat?
To apply contrast paint as an all-over base coat, you must start with a white or light-coloured primer. Once the primer is dry, you can begin painting your figure with the lightest colour of contrast paint. It is essential to work in thin layers so that the paint does not become too thick and flakes off.
When applying contrast paint, ensure that you are careful not to rework areas you have already covered, as this will leave an undesirable patchy finish to your model. Once the first layer is dry, which should take about 25 minutes, you can add another layer of paint, working your way up to the darkest colour. Ensure that you do not paint over areas you have already covered, as this will result in an uneven finish.
Recess Shading
Another way to use contrast paint is to shade the recesses of your miniature. This will help to bring out the details and add depth to your model. This can be quicker and more accurate than using a wash for this type of shading. You will need to be more careful in the application process than applying a wash, as contrast paint is not as forgiving. But we will discuss how to avoid these issues in the next section.
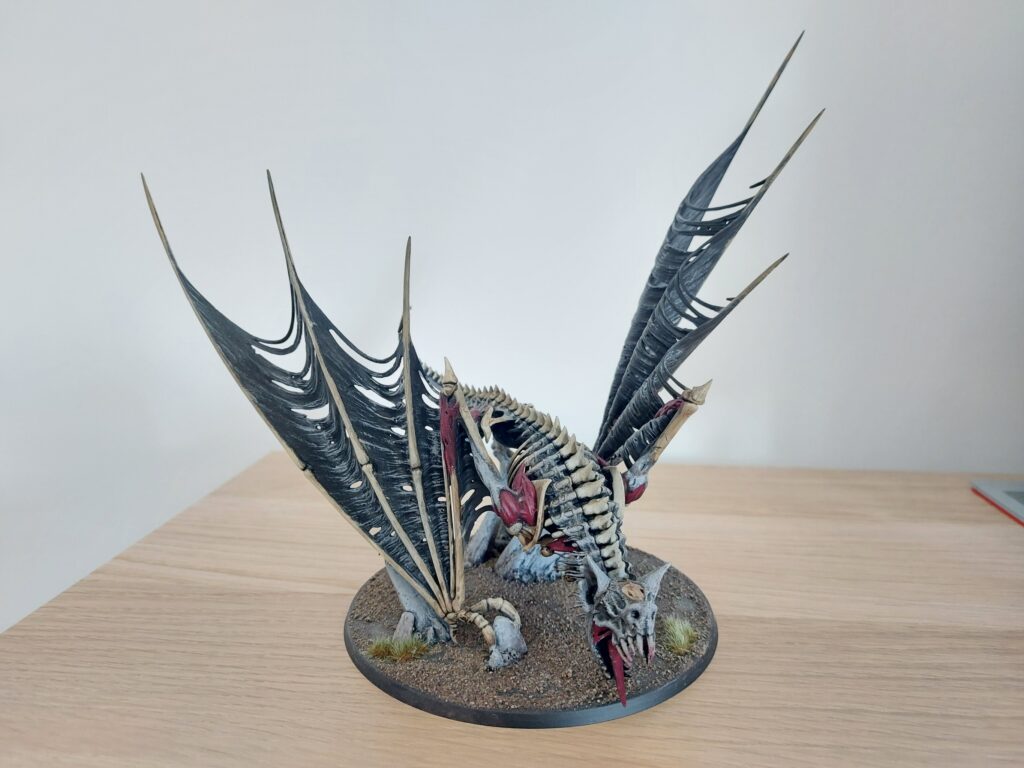
How to apply contrast paint for recess shading?
To apply contrast paint for recess shading, you must first identify the areas of your miniature that you want to shade. These are usually the crevices and recesses on your model. Once you have recognized these areas, you can begin painting them with the darkest colour of contrast paint. As with applying an all-over base coat, you must be careful not to rework areas you have already covered.
When applying contrast paint for recess shading, it is essential to use a small amount of paint on your brush. Make sure you pull the pooled paint on a paint pallet to remove paint from the brush and bring your brush to a fine tip before applying. This will help to avoid any unwanted pooling of paint in the recesses.
Once you have covered the areas you want to shade, you can allow the paint to dry. Contrast paint will take up to 25 minutes to dry. Once it is dry, you can add another layer if necessary.
Highlights
Another way to use contrast paint is to highlight specific areas. This is a great way to add definition to your model and make certain features stand out. Contrast paint can highlight things like eyes, weapons, or armor.
Unique Finishes
Finally, you can use contrast paint to create unique effects. For example, you can use it to create a weathered look or make your models look covered in blood. The sky’s the limit when it comes to using contrast paint, so get creative and see what you can come up with!
How to create washes with contrast paint?
Washes are a great way to add definition and detail to your miniatures. Contrast paint can be used to create washes perfect for bringing out the details on your models. To create a contrast paint wash, mix the paint with water. The ratio of pigment to water will depend on the desired effect. You will want to use more water for a light wash, whereas, for a darker wash, you will want to use less water.
Once you have mixed the desired ratio of paint to water, you can apply it to your model in the same way you would use a regular wash. Work in thin layers and build up the colour until you are happy with the result. Remember, contrast paints dry quickly, so you must work fast when applying them.
What colours of contrast paint should you use?
You can use any colour of contrast paint on your miniature. However, it is essential to consider the overall look that you are trying to achieve. For example, if you are painting a figure that is meant to be covered in blood, you might want to use red or pink contrast paint. On the other hand, if you are painting a figure that is meant to be weathered, you might want to use brown or black contrast paint.
No matter what colour you choose, contrast paint is sure to bring your miniature to life!
What are the benefits of using contrast paint on miniatures?
There are many benefits to using contrast paint on miniatures. As we’ve seen, it can add definition and detail to your models, making them pop. It can also create unique effects that will make your models stand out from the crowd. So if you’re looking for a way to take your miniature painting to the next level, contrast paint is a great option.
How do I get started with using contrast paint on my miniatures?
If you’re interested in using contrast paint on your miniatures, the best way to get started is to experiment. Try different techniques and see what works best for you. There’s no wrong way to use contrast paint, so have fun and see what you can come up with!
We suggest testing the paint on a spare miniature or piece of card before using it on your main project. This will give you a feel for the paint and how it reacts with different surfaces.
Start by painting your figure with the lightest colour of contrast paint. It is essential to work in thin layers, so the paint does not become too thick. Once the first layer is dry, which should take about 25 minutes, you can add another layer of paint, working your way up to the darkest colour. Ensure that you do not paint over areas you have already covered, as this will result in an uneven finish.
Final Thoughts
In this article, we’ve examined how to use contrast paint to bring your miniatures to life. We’ve seen how it can add definition and detail to your model and can be used to create unique effects. So if you’re looking for a way to take your miniature painting to the next level, contrast paint is a great option. So get out there and start painting! Your models will thank you for it.
